Sign up for restaurant insights
Did you know your menu plays the most significant role in determining your restaurant’s success on Grubhub?
It’s essential to make it easier for diners to order from you by including mouth-watering menu descriptions and menu photos. In our experience, restaurants that follow menu best practices, such as adding pictures and descriptions, receive as much as 70% more orders and 65% higher sales compared to restaurants that do not. That’s why perfecting your restaurant photography matters.
To help you get started with your menu within your Grubhub for Restaurants account, we’ve put together this introductory guide that highlights the basics of managing your menu, including adjusting or updating menu items make adjustments, and add menu photos.
If you are a current Grubhub Restaurant partner interested in learning more about managing your menu, please sign in to your Grubhub for Restaurant’s account and navigate to the Help Center.

Not a Grubhub restaurant partner? Sign up with Grubhub for Restaurants today to access hungry diners ready to order takeout and delivery from your restaurant.
Managing your Grubhub menu within the Grubhub for Restaurants portal
To access your restaurant’s menu on Grubhub, follow these steps:
Step 1: Log into your Grubhub for Restaurant account and navigate to the lefthand sidebar on desktop, or the three-bar icon in mobile, to access the ‘Menu’ screen.
Step 2: Select Menu from the left menu sidebar on a desktop, or the hamburger icon on mobile.
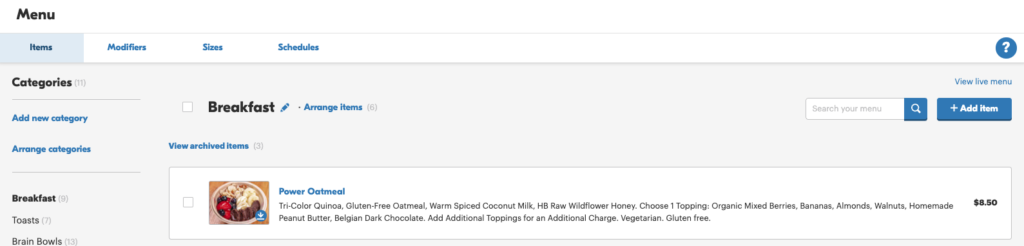
Step 3: From the Menu screen, all menu items are viewed in their respective Categories as well as all Modifiers, Schedules and Sizes:
Sections
Help differentiate and organize the various offerings on your Grubhub menu, such as desserts, drinks, and different food types. When diners view your restaurant, they use sections to navigate through your menu.
Modifiers
Give your customers the option to customize their orders. Examples include dressing options, topping choices, extra add-ons, or even the option to remove ingredients.
Schedules
Designate what times of day or days of the week menu items are available. For example, you can specify availability for weekend brunch of lunch specials.
Sizes
Within your menu, you can include:
- Drink sizes (such as 8 oz, 16 oz)
- Pizza sizes (14”, 18”, 21”)
- Or entree portions (half or full)
How to add or update menu items within your Grubhub for Restaurants account
To add menu items, please follow the following steps:
Step 1: Log into your Grubhub for Restaurants account
Step 2: Select the Menu tab from the left sidebar or the icon on mobile.
Step 3: On the left hand of the page, select a menu Selection, and then the + add item button on the right-hand side of the page.

Step 4: Fill out the details of your new menu item in the Add New Item window using the Info & Modifiers and Availability & Labels tab.
You can also update menu items and adjust menu prices from the Menu tab in your Grubhub for Restaurants account.
How to update a menu item within your Grubhub for Restaurants account
If you need to add menu items or make adjustments to your menu, follow these steps:
Step 1: Make sure you are logged in to your Grubhub for Restaurants account.
Step 2: Navigate to your Menu in the righthand dashboard
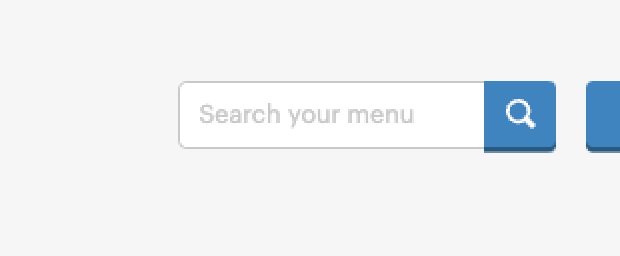
Step 3: Find the menu item you want to edit by typing it in the search field within the menu dashboard or by selecting the section the menu item is located within.
Step 4: Select an existing menu item to edit the item details and click save when you are done.
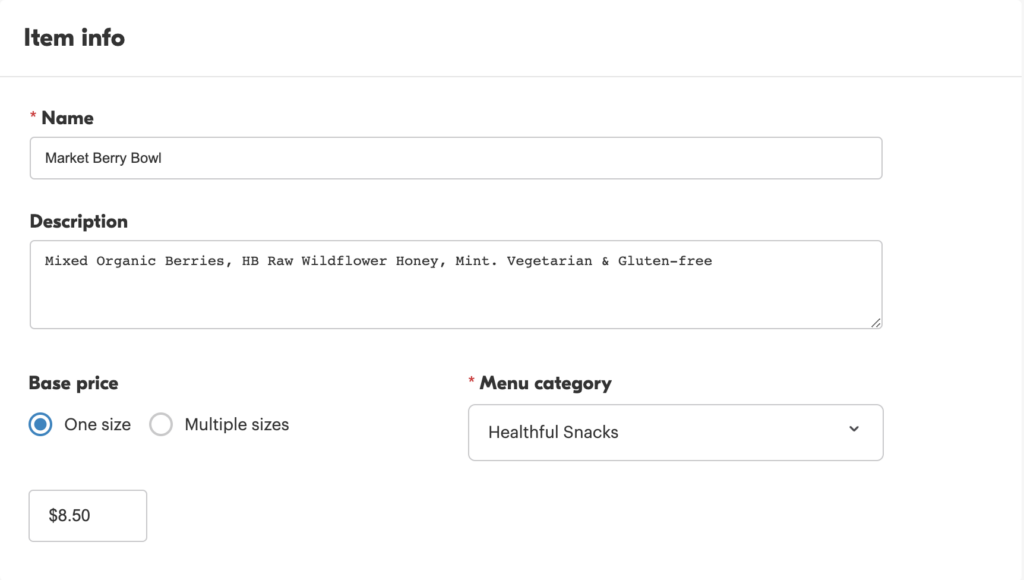
From Info and Modifiers tab, you can update:
- Item name
- Description
- Menu section
- Base price
- Photo
- Availability
- Modifiers
From the Settings and Labels tab, you can update:
- Item availability schedule
- Labels
Adding photos to your Grubhub Menu
Adding photos to your menu attracts more customers to your menu and drives more orders. With menu photos, you can make a great first impression by showing customers what your restaurant’s all about with beautiful photography of your signature dishes, boost sales and enjoy greater advertising opportunities with Grubhub for Restaurants.
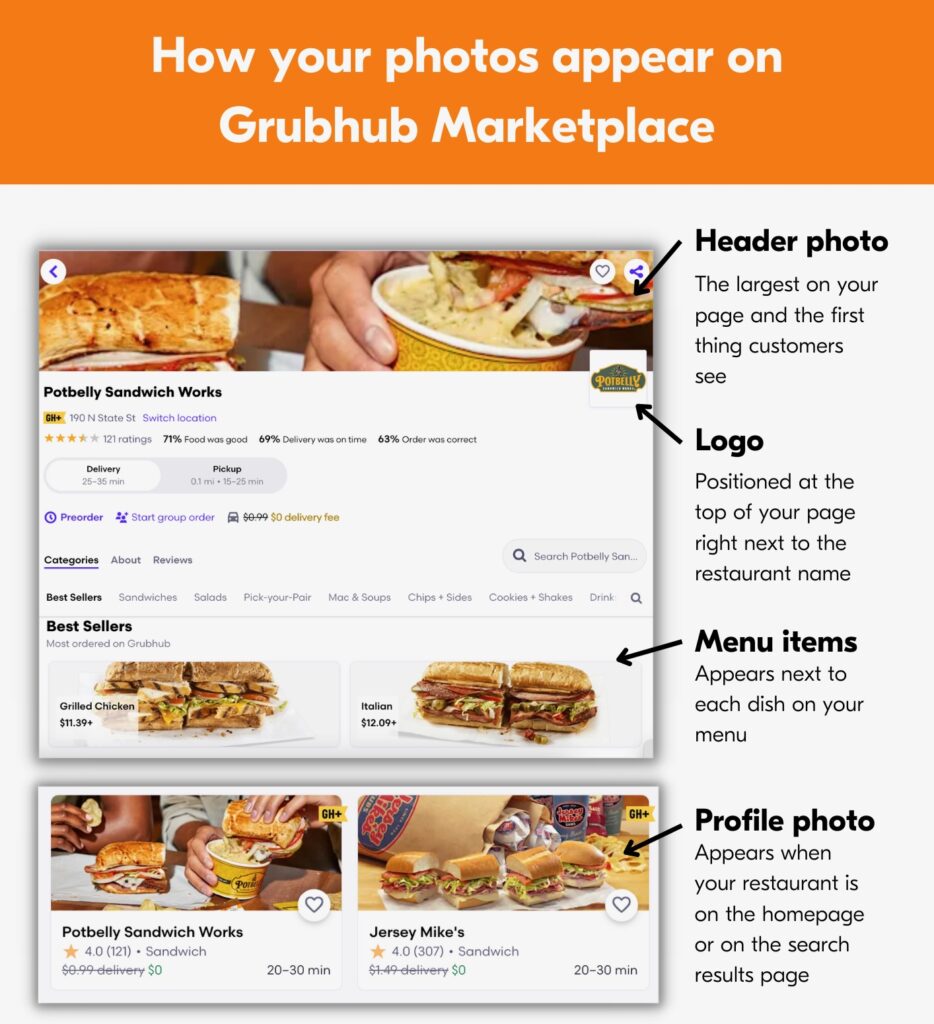
Your restaurant logo will be positioned at the top of your menu page next to your business name to identify your restaurant brand. When adding photos to your menu, whether it is a Header, profile or logo image, it’s important to understand how it will appear.
How to add photos to your menu
Adding photos to your menu greatly increases the attractiveness of your menu. Here’s how you can add photos to your Grubhub menu:
Step 1: Log in to your Grubhub for Restaurants account and navigate to the Menu tab from the left sidebar on desktop or the menu dropdown on mobile.
Step 2: Select the menu item you would like to add a food photo to and click the Add Photo icon.
Step 3: Once you select the photo icon you will have the option to upload an image fro your desktop.

Step 4: Make sure to agree to the terms and conditions

Step 5: Choose the photo you would like to use.
Step 6: The chosen photo will be in review while our automated system.
Step 7: After processing, the system will signify the status of the photo as one of the following:
- Approved: image passed system criteria
- In review: image is currently in the system processing
- Rejected: Image did not pass system criteria
Our system checks images based on these criteria:
Size/resolution
All photos uploaded to menus must fit the following requirements:
- 1:1 aspect ration (square)
- Images must be at least 200×200 pixels
- Logos require a background color, white is acceptable
- Must be saved as a .png file
Content
All images except for the logo should be photos of food. Photos of coupons, weekly specials or restaurant interior/exterior are not accepted.
Text/phone number
Images shouldn’t have text or words on them, including the name of the dish, coupons or special deal information. Logos cannot have the restaurant phone number included.
Safe search
Images cannot contain images flagged for adult content, violence or medical (i.e. gore/blood).
Copyright
Images must not return matching URLs from reverse Google image search.
Menu changes update automatically on the customer-facing Grubhub Marketplace. To learn how to add photos from your mobile or desktop account, please sign in to your Grubhub for Restaurants account to access this help center article.